
ALREADY PURCHASED
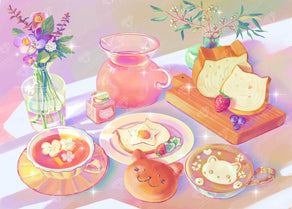
Cat Sandwich Party
Rated 5.0 out of 5
To view pricing in your currency, select your shipping country below.
Whether you’re wondering how to diamond paint with square drills or you’ve been enjoying this craft for a while, we have some helpful hacks and hints that can help elevate your projects to the next level. The resin diamond drills used to make up the beautiful mosaic images on diamond paintings are available in round and square shapes, each having its own advantages and challenges. Some people even use a combination of both round drills and square drills to create a different kind of effect. In general, projects with square gems tend to be more difficult, so if you’re feeling particularly crafty, go ahead and invest in a diamond art kit with square drills. Whether you just purchased a square diamond art kit, or are in the market for one, this beginner’s guide filled with square diamond painting tips from expert diamond painters will help you create an even more magnificent masterpiece.
Both the square and the round diamond drills feature facets on the top to create the “diamond” effect and a flat underside to make it easier for the gemstones to stay flush with the diamond painting canvas. Rounded diamond drills are typically considered to be a bit easier to work with because you can’t – and don’t need to – make each of the diamonds line up perfectly. Of course, you need to keep your drills in straight lines regardless of their shape to give you a flawless finish, but when using square drills, it is more obvious if they are not lined up correctly because the edges of the diamonds touch. With round drills, it’s okay for there to be space between each drill as the shape makes it impossible to cover all the canvas showing in the corners between them. While square gems take some getting used to, their diamond shape offers amazing detail for finished canvases. Don’t get us wrong, round gems still look great, but you can achieve more detail with a square-shaped diamond. It’s good to be aware of this before purchasing a square diamond painting kit if you have never worked with this shape of beads before.
It may seem like a minor detail, but where you decide to place the tray holding your diamond drills will make a big difference in the process. To start your diamond painting project, you’ll use your diamond painting pen and wax to pick up individual drills and carefully place each on the designated spot as denoted on the pattern, which is called the drill field. Because you have to move the square gems from your tray to the drill field, keeping the tray aligned with your canvas and close to the area you are working on is beneficial. This will help you keep the diamonds straight instead of placing them diagonally.

For more advanced diamond art painters, using a multi-placer tool can be a great addition to your process because it will allow you to put down multiple diamonds in a row at the same time. While there is a learning curve to mastering the use of this diamond painting tool, once you feel confident in your multi-placing abilities, you’ll notice how much they help speed up the process. A multi-placer allows you to pick up multiple gems at a time, rather than picking up one single drill each time. Invest in one of these handy applicator tips to help you place your square drills close together and speed up the process. Diamond Art Club® offers various multi-placer options, ranging from smaller sizes such as two-tip placers, mid-size tools with five-tip multi-placers, and larger tools with a 12-tip placer option! Made from top-quality stainless steel, our multi-placers are long-lasting and will transform your workflow!
While aligning square drills can take time to master, placing them perfectly and hearing that satisfying "snap" of the drills offers some relaxing ASMR sounds. In order to achieve that satisfying sound and make your square drills completely flush with its neighbor, consider using a straightening tool. A straightening tool can be your saving grace because it allows you to simply touch up the placement of a row or column of drills, arranging them in a more uniform fashion without any overlap or gaps. These tools help the process for both beginner and experienced crafters alike!

We cannot emphasize this square drill painting tip enough: Always keep extra tools and materials on hand. As you become more skilled at diamond art painting, your collection of extra diamonds and wax that were left over from your previous kits will grow. We recommend investing in an organizer, extra putty, and tools in case you are ever in the middle of a project and you lose the last drill in a specific color, or your wax runs out. Having these additional supplies on hand will allow you to work on your project whenever inspiration strikes.
Shop Diamond Painting Accessories
While a diamond painting pen is the standard tool for placing drills, some crafters swear by tweezers for specific situations. Tweezers offer more precise control, which is especially beneficial for square diamonds. They allow for meticulous drill alignment, minimizing gaps and ensuring a flawless finish. They’re also ideal for picking up misplaced or crooked diamonds for adjustments without disturbing surrounding areas. Don’t have any tweezers on hand? No sweat! We’ve made sure to include tweezers in every Diamond Art Club® square kit so you’re equipped with everything you need.
This technique is a game-changer for tackling large sections of a single color in your diamond painting. Instead of meticulously filling row by row, which can lead to inconsistencies and slight deviations, this method breaks it down into smaller, more manageable steps.
Here’s how it works: Imagine a checkerboard pattern. You’ll be filling the squares with two different colors — let’s call them color A and color B. Start by placing a square of color A, then skip the next square and place a square of color B. Continue this pattern, alternating colors in a checkerboard fashion across the entire area you want to fill. This creates a grid of alternating colors.
The fun part lies in the next step. Once you’ve completed the entire checkerboard pattern, go back and fill in the empty squares with the remaining color (either A or B, depending on which one you skipped initially). Placing the remaining diamonds becomes much easier because you’ve already established a grid with alternating colors. The already placed squares act as guides, ensuring straighter lines and minimizing those pesky gaps between drills that can sometimes occur when filling row by row.
Learn More About the Diamond Painting Checkerboard Method Here
A diamond painting light pad is one of the best diamond painting investments you could ever make. Using a light pad underneath your canvas can significantly improve your accuracy and speed, especially when working with square drills. The light shines through the canvas, illuminating the symbols and making it easier to see exactly where each diamond should be placed. This is especially helpful for projects with complex details or when working in low-light environments.
Looking for more information about crafting with a light pad? Check out our blog post all about light pads here.
Before moving on to a new section, take a moment to double-check your work, especially for any misaligned squares or missing diamonds. It’s much easier to fix these mistakes now than later.

Working on a diamond art project is one of the best activities to do with your family, friends, or solo. If you’re looking for a more involved diamond art kit, try a diamond painting with square drills and follow these square diamond painting tips to create something you’re proud to show off. As the saying goes, practice makes perfect, so keep on trying until you’ve mastered some of the more difficult patterns.


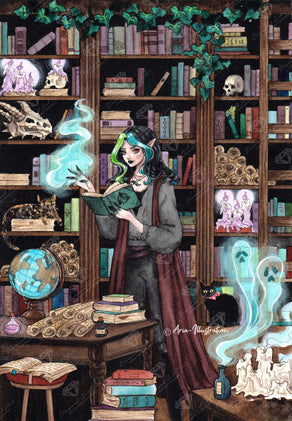
© Rita Kónya/Aria-Illustration


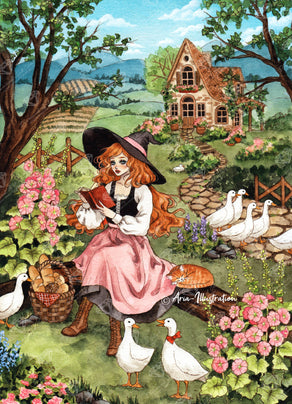
© Rita Kónya/Aria-Illustration


Diamond Art Club Save 20% by using our app!